PC Plus HelpDesk Extra - issue 204
 |
This month, Paul Grosse shows you more detail of how some effects work and how to modify others. We look at: Sepia; Solarisation; and, Tone-Line Effect (Edge Detect). |
 |
Sepia
Sepia was originally created when the silver in black and white images (halftone or greyscale) was allowed to react with sulphides in the air. The silver sulphide produced gives a brown pigment instead of a black one - the original silver is finely divided and scatters the light making it look black.
Early photographic films also only "saw" blue light. It was much later on that additional chemicals were used to make the orthochromatic and panchromatic black and white films that we see today.
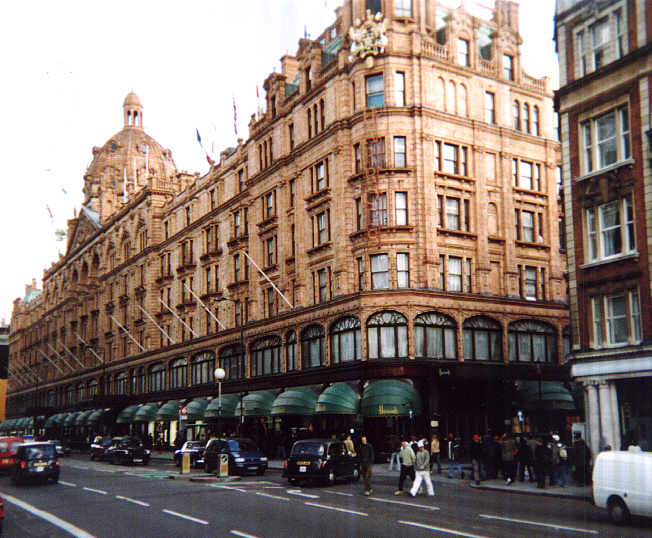 |
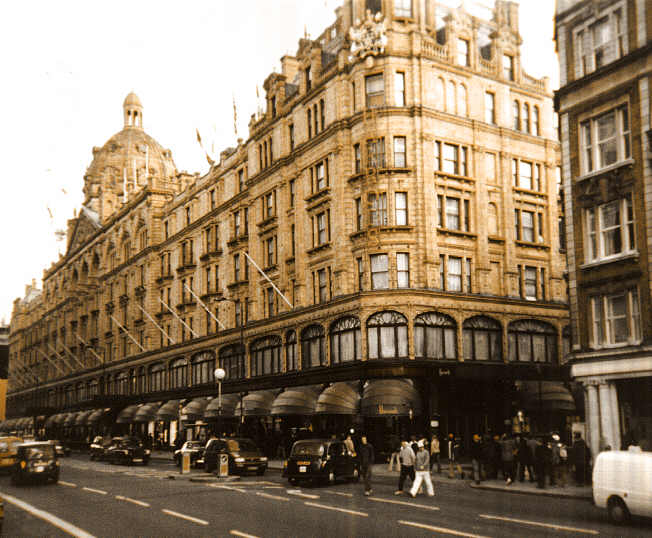
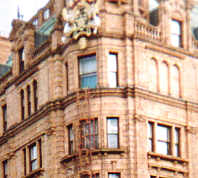
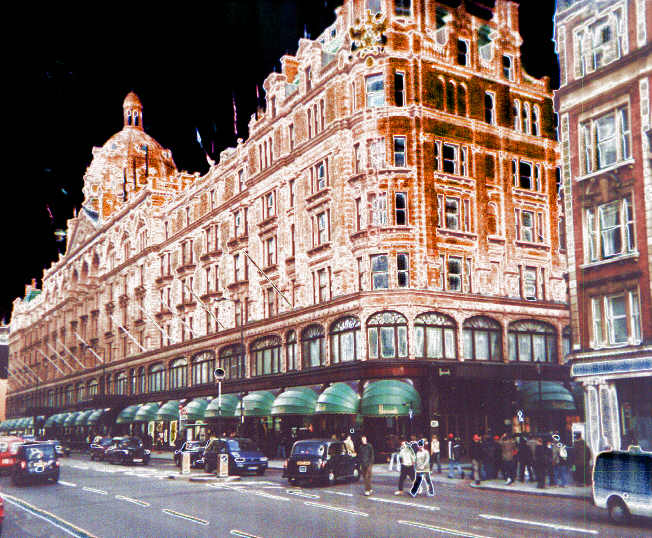
1. This is the original Harrods photograph. Note the different saturation levels of the colours in the image. |
|||||||||||||||||
| Original Harrods photograph | ||||||||||||||||||
 |
2. Here is the original (1.) after it has had "Colourize" selected when going through the hue shift. Doing this sets the hue the same, regardless of what it started out as. Here it has been set to 36 degrees and the saturation shift adjusted to give an acceptable level of saturation. The image however, contains elements with different levels of saturation and where the luminosity is the same but the saturation less - the lower floors and the building on the right - the image is greyer. |
|||||||||||||||||
| Colourized Hue Shift | ||||||||||||||||||
|
||||||||||||||||||
 |
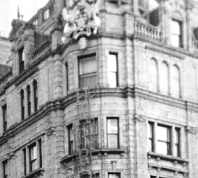
3. This is the original which has been greyscaled so that all colour information has been lost, then turned back into a colour image (so that it can take colour imformation again) and then colourized to the sepia hue (36 degrees) with the saturation and brightness being adjusted to give the desired effect. However, the bottom half of the window at the top of the corner of the building is too dark and the building itself is a little pale. |
|||||||||||||||||
| Greyscale and then colourized | ||||||||||||||||||
|
||||||||||||||||||
 |
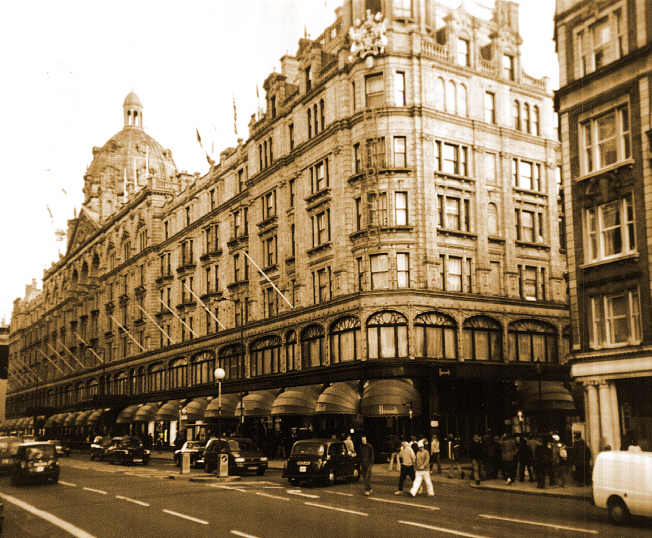
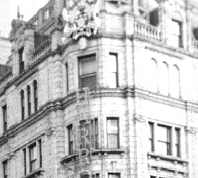
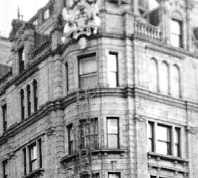
4. Here we have a convincing sepia image. The original colour image has been split into its RGB channels, the blue channel then converted back into an RGB colour image which has then been colourised, producing the image on the left. |
|||||||||||||||||
| Sepia | ||||||||||||||||||
Solarization
It can be argued that as the original solarization seen when images were over exposed such as in atomic bomb footage, that solarization should only be applied to greyscale (halftone) images. Here, however, we look at what happens when it is applied to colour images.
|
1. The original Harrods image. |
||||
| Original Harrods photograph | |||||
|
|||||
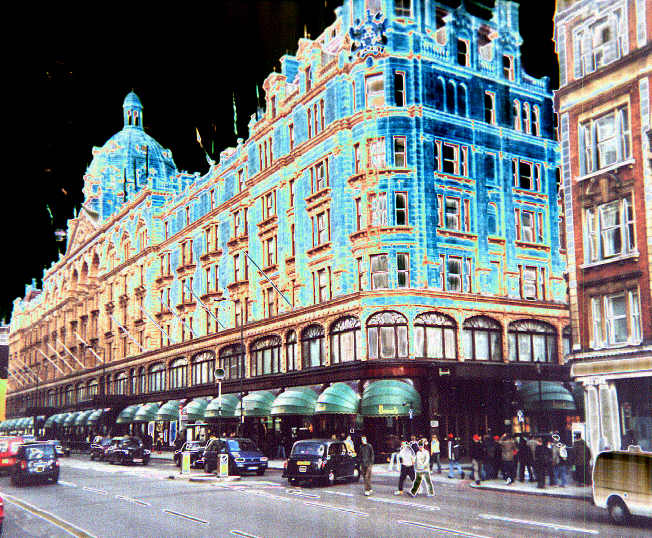 |
2. This is the result. Note that the colours become negative to their opposites but as the density of each colour layer goes through the transistion (at 50%), the resulting hue flicks through the primary and secondary colours. Thus, on the front of the building, we go from the orange brickwork, through green and cyan to blue - the opposite colour to red - instead of going straight from red to blue. In the darker areas, the green canopies remain green. |
||||
| Conventionally solarized image | |||||
 |
3. Here, the image is split into Hue, Saturation and Luminosity (HSL) and the luminosity is then transformed using the solarization tranform as above. Then, the image is recombined. In this case, the hues have stayed the same as that layer remained unalterd. Note that there is no rainbow effect in this image |
||||
| Luminosity solarized. | |||||
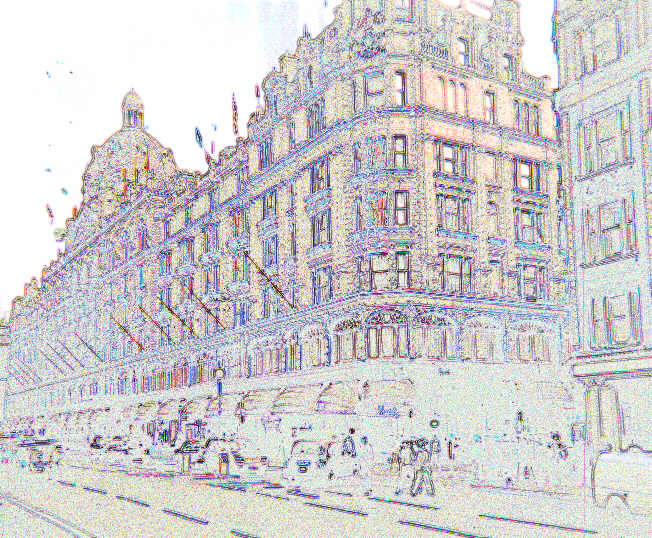
Tone-Line Effect (Edge Detect)
Originally, this was done by making a 100% negative of the image and then laying the two on top of each other such that there was a thickness of transparent material between them (the film base) and then shining a light through at a range of angles onto an unexposed negative so that the lower image was essentially a contact print and the upport image was blurred.
The image densities cancelled each other out but where there was any localised change of density, such as at an edge, light shone through.
Here, we recreate this using an image editing package showing how, by understanding what is going on, the effect can be controlled and manipulated more effectively.
|
1. The original Harrods photograph showing plenty of detail around the windows and in the darker parts of the streets below. |
||
| Original Harrods photograph | |||
|
|||
 |
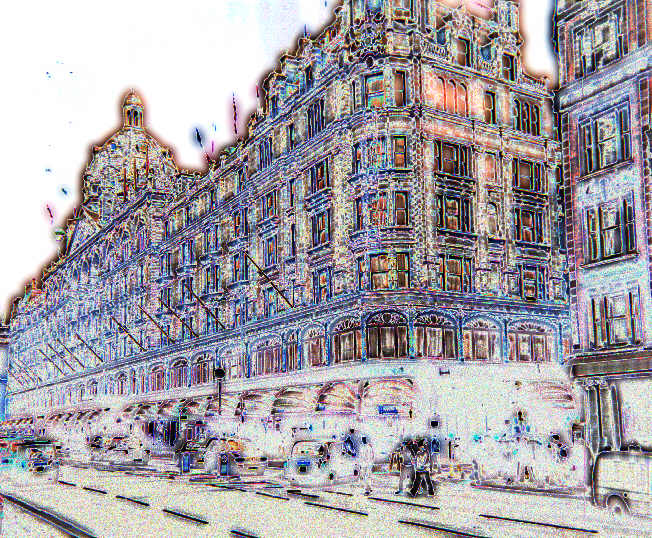
The solarization transform puts the tones in the middle at the top of the luminosity range. Changing the gamma at this stange brings out various amounts of detail. | ||
 |
2. This is the tone-line effect using a small gaussian blur. Note that you can also get this effect by using a different blurring method or even by sharpening methods such as sharpen or unsharp mask. |
||
| Moderate blurring producing a fairly fine edge effect | |||
 |
3. This is the same as above but using a far larger gaussian blur. Images such as these can be used washed out as background images in presentations and so on. |
||
| Edge effect with larger blur | |||